What are the different ways that you can launch a Guide?
This document will go through the different types of launchers that are available in Contextual. There are some differences between what is possible on Mobile and Web, this document will go through them separately.
Contextual Mobile
The mobile launchers are available to edit by creating a mobile guide, opening the first step to edit, then go to step 4 Hot spots and Launchers (image below).
Contextual Mobile supports the following launchers:
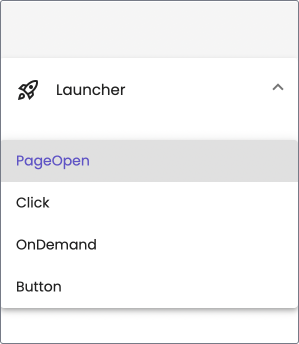
- Page Open
- Button
- Click
- On-demand
Page Open (the default)
The Guide will get launched the first time the user visits a page after they have matched the rules set in the audience selection.
Button
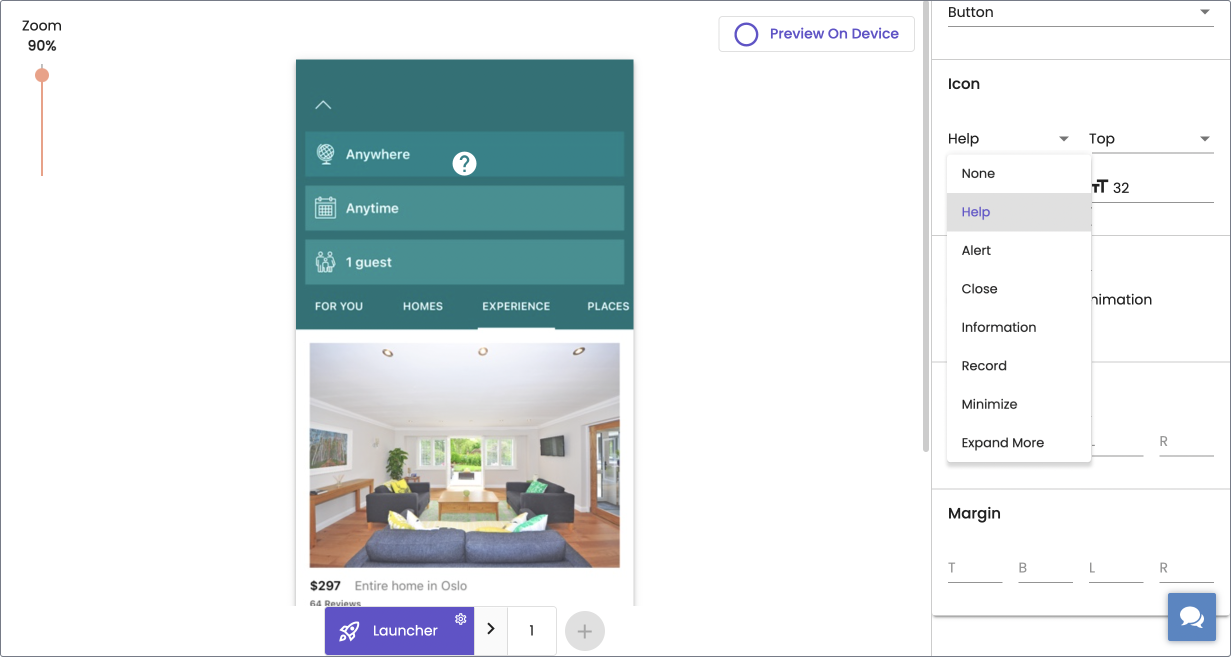
Button launcher is a button created by Contextual that when the user touches it will launch the guide. Buttons can also be thought of as tooltips that you can place throughout your app. Contextual supplies a range of different icons like “?”-help, “i” - information, etc.). The button’s colour and size etc can be modified to make them look more natural inside of your app.
Once you have selected a design you just need to choose an on-screen element to attach the button to. You can see the blue box in the screenshot below shows what element the button will attach to. It is the same logic that a tip uses to point to an on-screen element.
This screenshot shows a “?” button (with several params you can use to place and colour).
Note
To get a button launcher to act as a tooltip, we recommend setting it to show forever in SETTINGS so that the user will always be able to access the guide.
Click
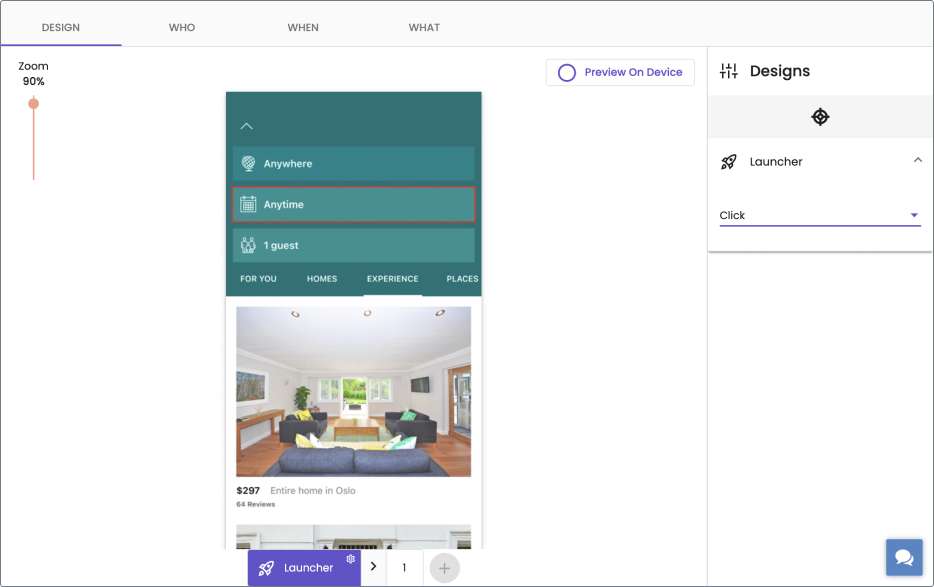
Click launcher makes an existing screen element (like a text label) clickable. The usage is quite similar to a button launcher, you need to attach it to an on-screen element and when a user clicks on the element the content you have created will be displayed.
You will see a blue square around the element that has been selected (image below).
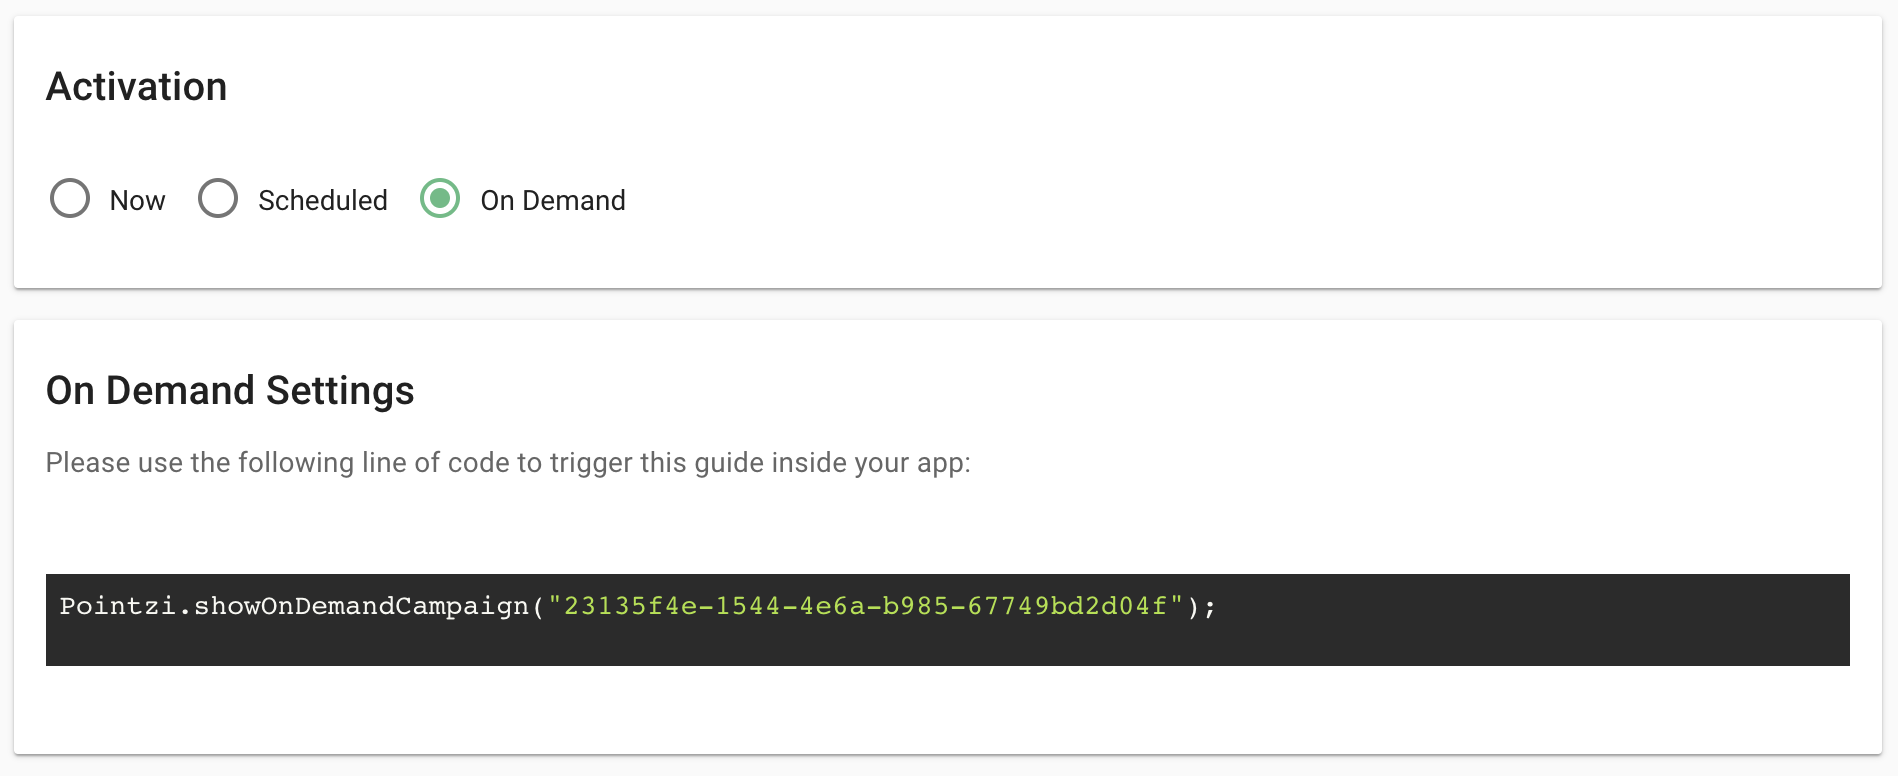
On Demand
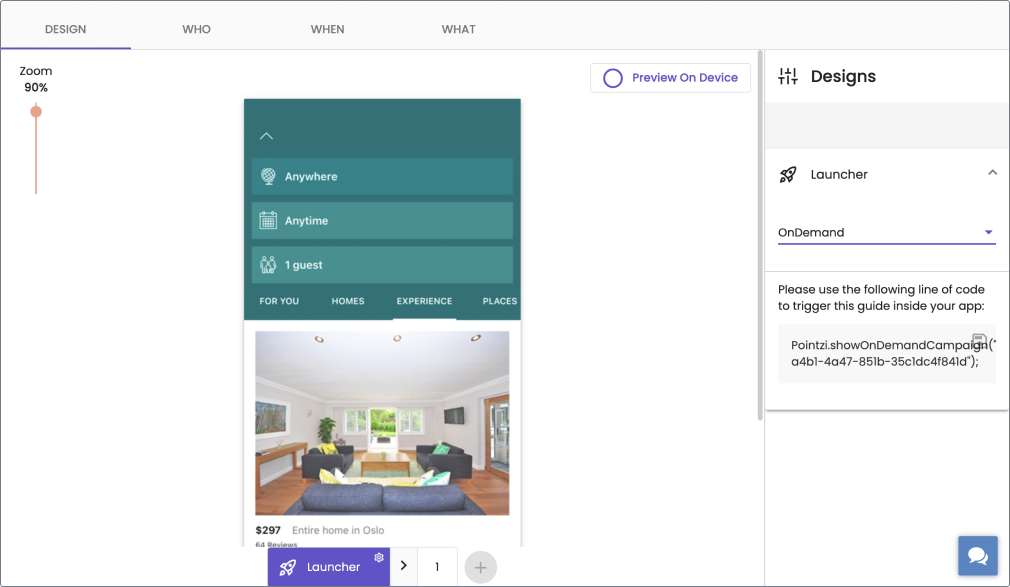
Selecting On-demand will change the experiment so that it can be executed using code inside of your app.
Once you've made the guide "On Demand" copy the line of code from the dashboard which you (give it to your developers) can then use inside your app to launch your guide.
This gives you the freedom to launch the guide using whatever logic in your code that has sophisticated triggering.
Note
A guide can only be of one type. Its not possible to have a guide be both "Page Open" and "On Demand". To achieve this you should duplicate your guide and change its launcher.
Warning
Duplicating a guide will change the copy line, you may need to change your app code to launch the new guide.
When you have changed the launcher to "On Demand" you will see in the guide setting that it is now "On Demand" as well.
Contextual Web
Contextual Web supports the following launchers:
- Page Open
- Button
- Click
- On-demand
- Hover
The basic principles are the same for Web launchers but with a few differences that are outlined below.
Button
The button launchers are nearly exactly the same except the interface place and design is different. You need to open the Contextual chrome extension then go to step 2 Hotposts and launchers and then choose a button from the drop-down menu that says "Launcher type". Then all you need do is mouse around and look for the blue boxes around on-screen elements, clicking on an element will attach the button to that element.
Note
To get a button launcher to act as a tooltip, we recommend setting it to show forever in 4.SETTINGS so that the user will always be able to access the guide.
Hover
This launcher is unique to Web, it allows you to put an invisible hotspot on an onscreen element that when the user mouse-overs will launch the content you have created. Once you have selected an on-screen element you will see a red box around it, the red box will not be visible to the end-user.